In part one of our resin blog series, we detailed what is resin, and then in part two, we went through the essential tools needed to use it. Now in part 3, using our Resin Jewellery Starter Kit (860 031A), we have put together a guide on how to use resin
Prepare your working area
An essential part when learning how to use resin is understanding the importance of a well prepared working area. You will need good ventilation and a clean, flat surface to work on; a table next to an open window is fine. Cover your work surface with newspaper or something similar and disposable to protect against spills and lay out your equipment.
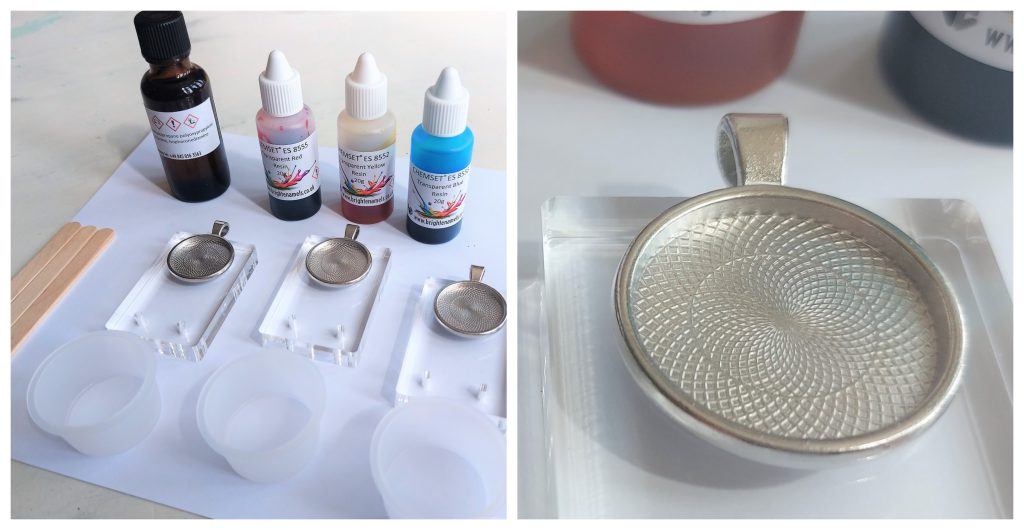
N.B. The acrylic blocks are used to keep items perfectly flat as they are curing. (Blue tac can be used to secure pieces if necessary) Ensure pendant bails hang over the edge of the block to keep the setting level and avoid any tilting.
Measure out the resin
This is done using a fine nozzle on the top of each bottle which makes it easy to count each drop. If you aren’t using these types of bottles, the resin will need to be weighed out using digital scales.
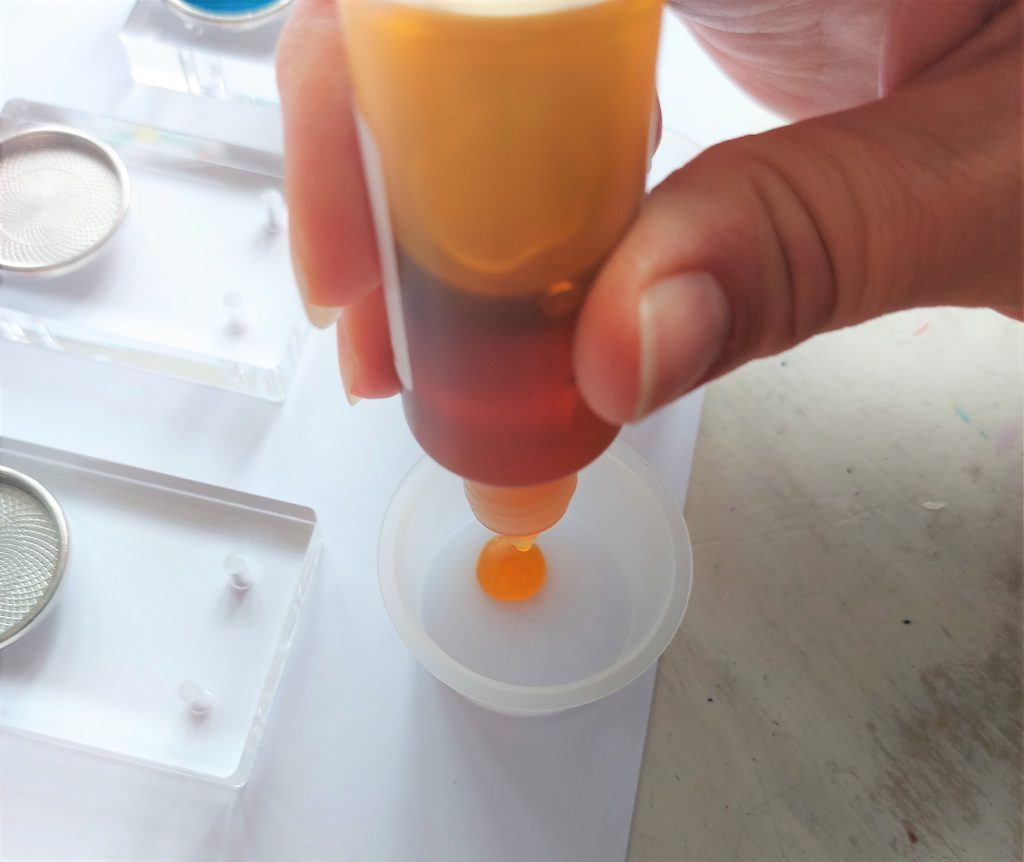
This step is important, so double check your ratio before starting to prevent any mistakes. An essential part when learning how to use resin is to understand that ratios will differ across products but in this case, it was 2:1, (resin to hardener).
Add the hardener
This set comes with a pipette, making it easy to count each drop of hardener (remember the 2:1 ratio of resin to hardener). In this instance 20 drops of hardener were added to 40 drops of resin.
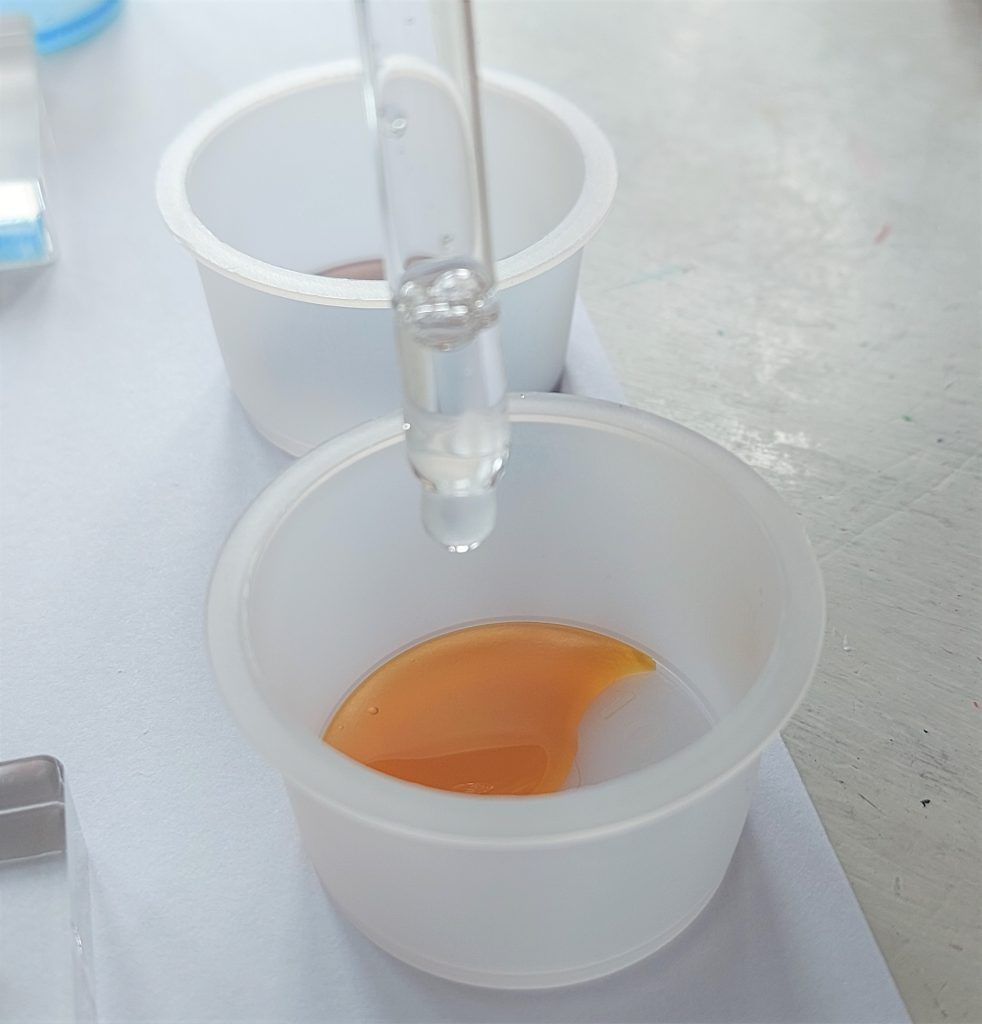
N.B. If using clear resin, this is the point to add the colour using either a pigment paste or mica powder. The resin used here was pre-coloured.
Gently mix
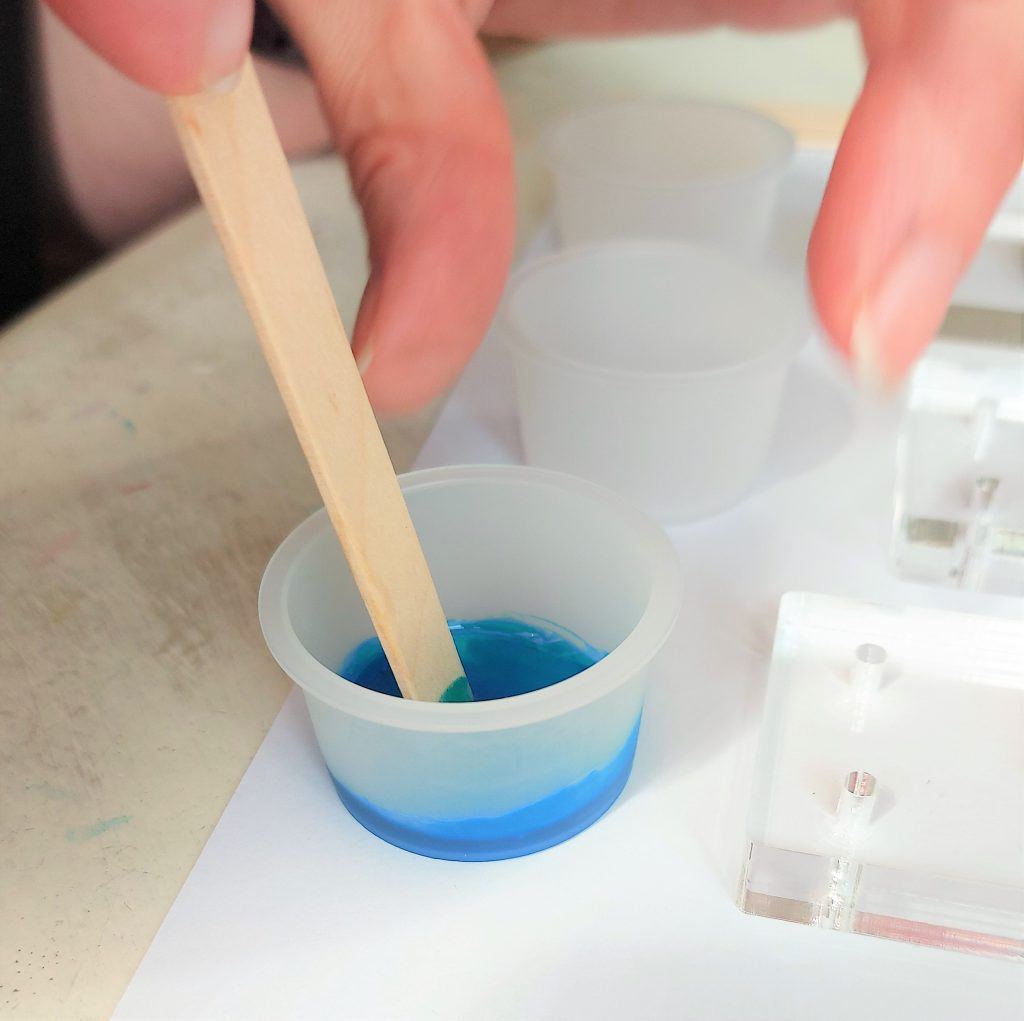
Follow the instructions (usually 1-3mins) as this will vary across products. Avoid bubbles in resin by ensuring you are not being over vigorous, you are aiming for a smooth mixture.
Once mixed, you have approximately 45mins working time before the product starts to cure so start putting the resin into the setting without too much delay. You could slowly pour it or use the wooden mixing stick for more control.
Fill the setting
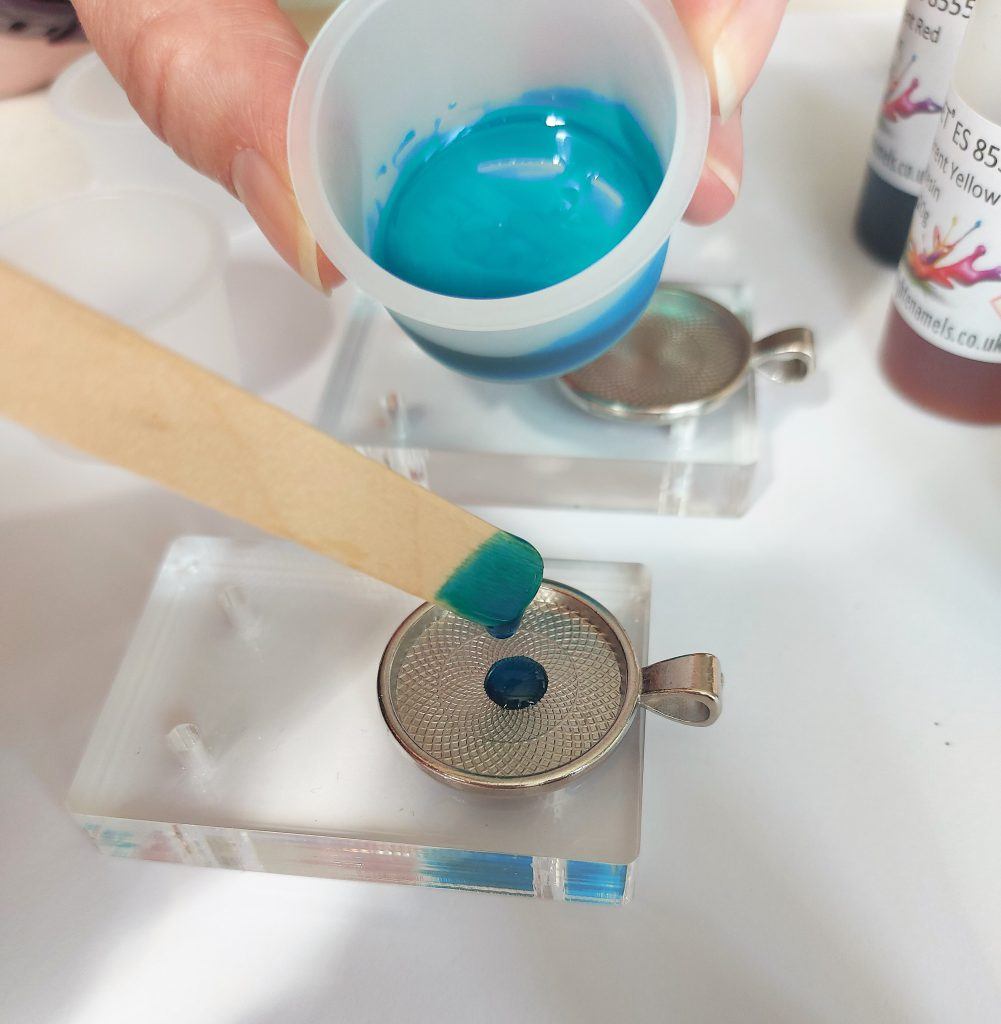
The resin needs to sit slightly proud of the edge and allow to cure for 24 hours at room temperature. (Resin will shrink during the curing process, so you want a nice dome of product on the top of your piece, which will shrink to a flat surface once hardened).
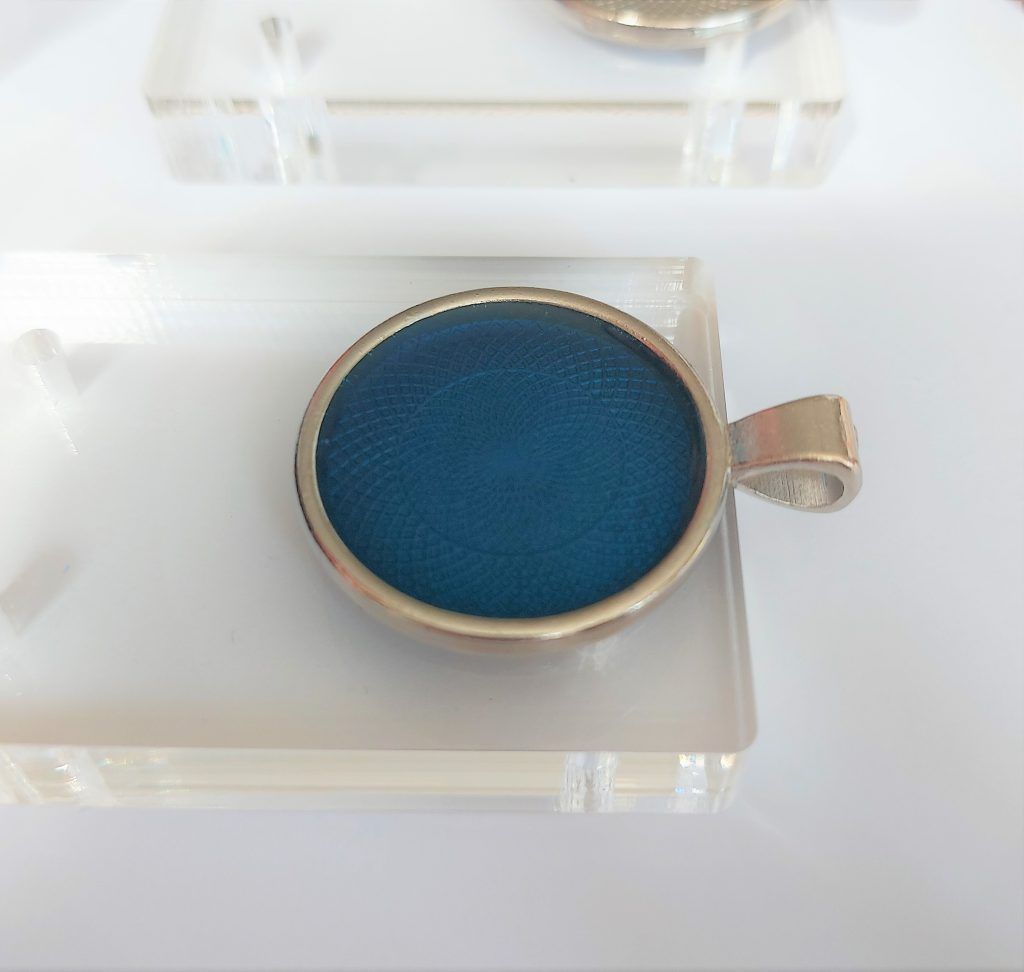
N.B. Once cured, products made in this way require no more finishing and can be worn straight away. However, if you want to cast pieces, further steps are required to achieve a glossy surface.
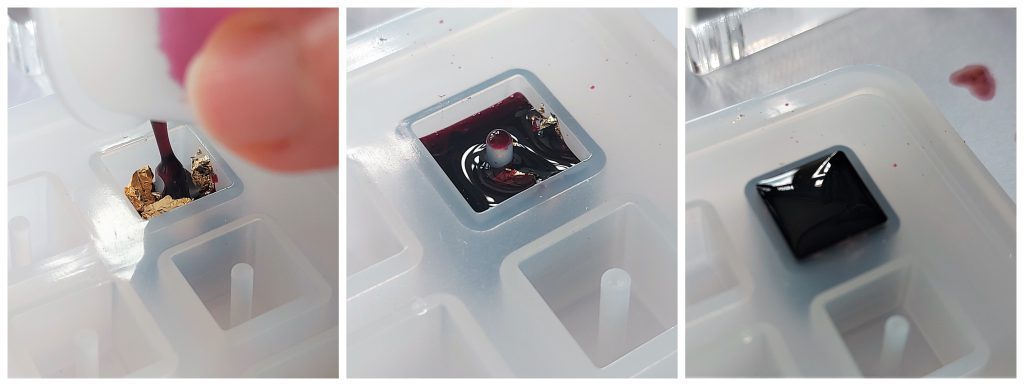
Follow steps 1 – 5 using a silicone mould instead of a metal setting.
Sand rough edges
Remove pieces from the mould after 24 hours and sand any rough edges using wet and dry paper or micro-mesh cloths. Gradually work through the grades moving from low to high keeping strokes in the same direction. A mask should be worn whilst doing this
Polish to finish
Using a soft cotton cloth, use a suitable polish to buff resin to a high shine.
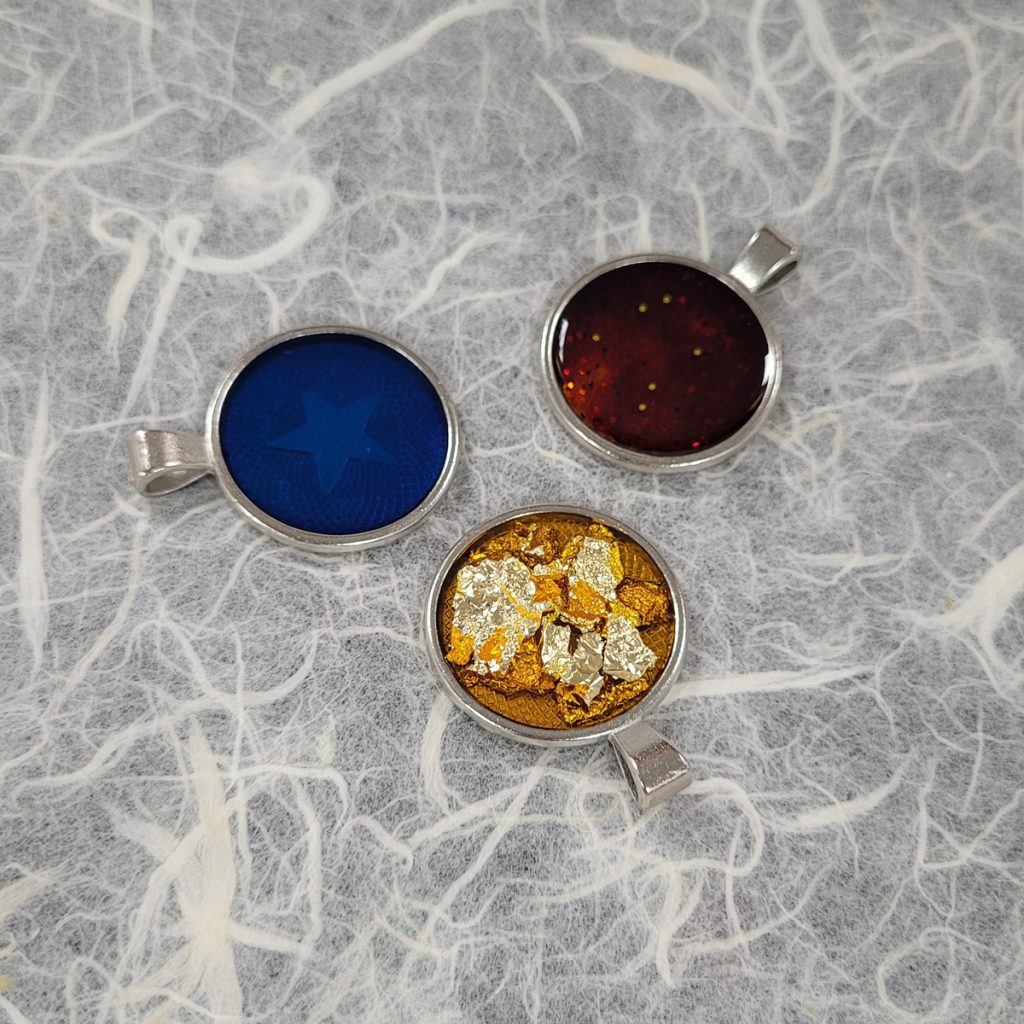
Want to find out what is resin and how to make jewellery from resin? See more in our Resin Beginners Guide series or see our resin hints and tips. What would you like to know about resin?
